
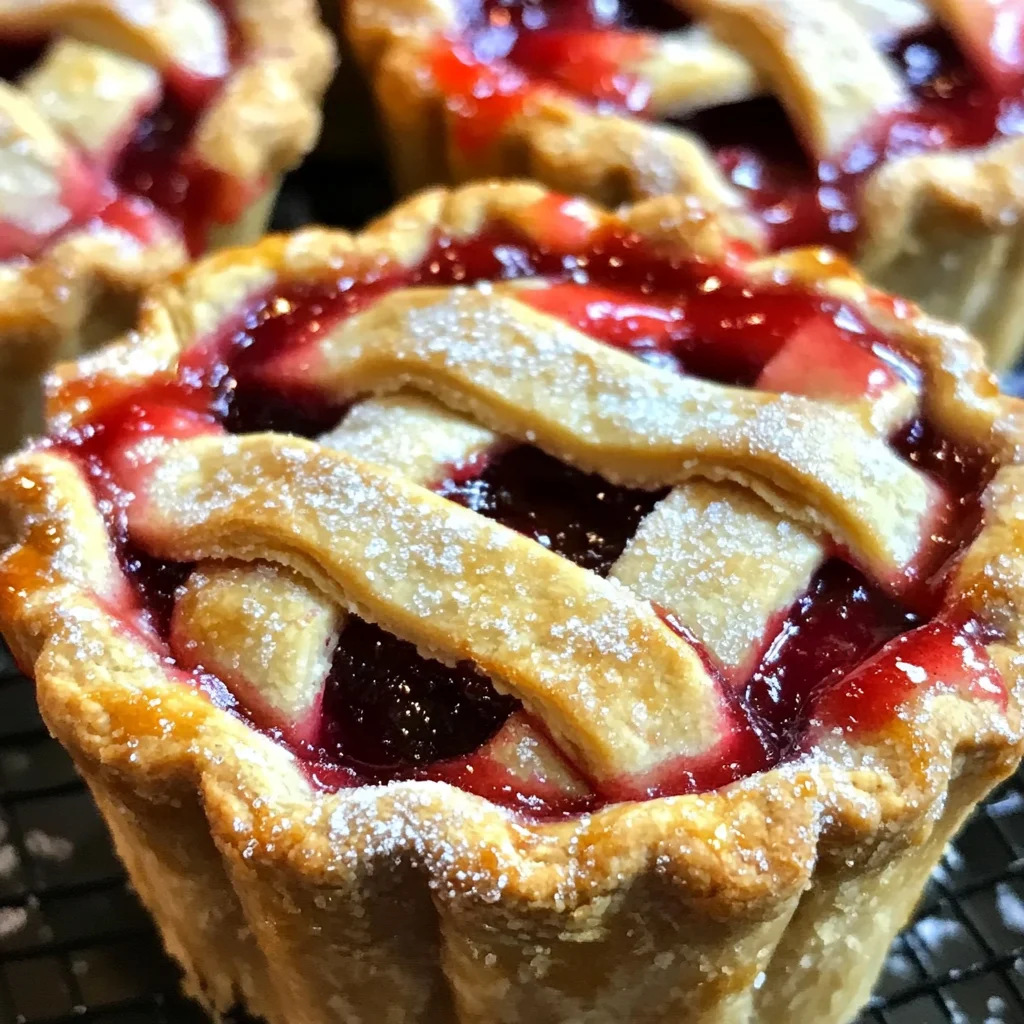
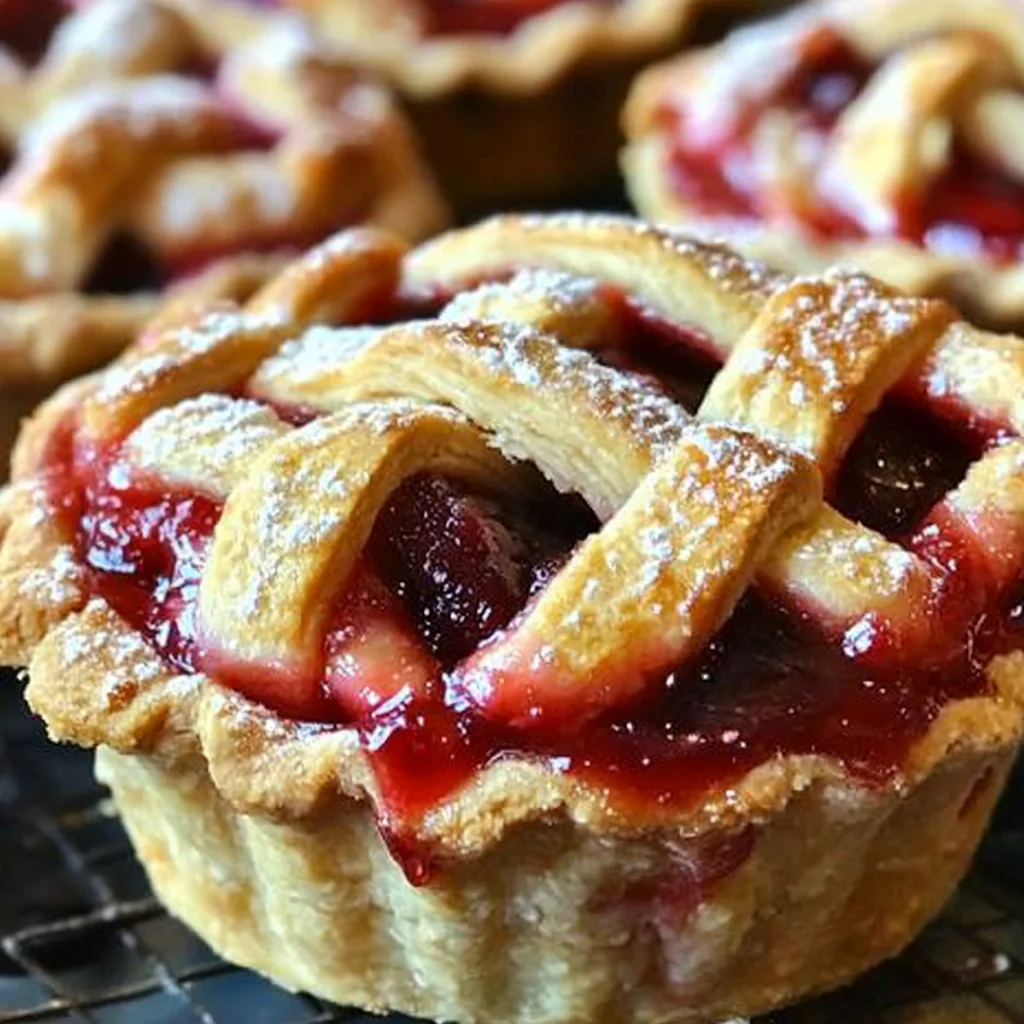
Mini Cherry Pies are a delightful treat that brings joy to any occasion. These adorable mini versions of the classic cherry pie allow you to indulge in your favorite dessert without the fuss. Perfect for summer gatherings or simply as a sweet snack, these little pies are easy to make and even easier to enjoy. With just four ingredients, you’ll be in and out of the kitchen in no time, leaving you with delicious mini pies that are sure to impress!
Why You’ll Love This Recipe
- Quick and Easy: With minimal prep time and simple ingredients, you can whip up these mini pies in under an hour.
- Perfect for Any Occasion: Whether it’s a family gathering or a picnic, these mini cherry pies are a crowd-pleaser.
- Customizable: Feel free to switch up the filling! Try different fruits or even add some spices for unique flavor combinations.
- Individual Servings: Each pie is perfectly portioned, making them great for sharing or enjoying solo.
- Kid-Friendly Fun: This recipe is a fantastic way to involve kids in the kitchen. They’ll love helping shape and fill the pies!
Tools and Preparation
Before diving into this delicious recipe, gather your tools. Having everything ready will streamline your cooking process.
Essential Tools and Equipment
- Muffin tin
- Rolling pin
- Cookie cutter or glass/bowl
- Knife or pizza cutter
- Whisk
Importance of Each Tool
- Muffin tin: This tool shapes the pies perfectly, ensuring they hold their form while baking.
- Rolling pin: A rolling pin helps achieve an even thickness in the pie crust for consistent baking.
- Knife or pizza cutter: Using a knife or pizza cutter makes it easy to create those beautiful lattice strips quickly.
Ingredients
For the Pie Crust
- 1 package (2 9) store-bought pie crust
For the Filling
- 2 cups cherry pie filling
For Topping
- 1 egg white – slightly beaten
- Sugar for sprinkling
How to Make Mini Cherry Pies
Step 1: Preheat the Oven
Preheat your oven to 350°F (175°C). Grease your muffin tin and set it aside; you will need 10-11 cups.
Step 2: Prepare the Pie Crust
Unroll one crust onto a flat surface. Using a cookie cutter or the rim of a glass/bowl, cut out circles about 3.5–4 inches in diameter.
Step 3: Shape the Mini Pies
Place each circle into each muffin tin cavity. Press down gently into the bottom and up the sides.
Step 4: Add Cherry Filling
Fill each crust with cherry pie filling until it reaches about two-thirds full.
Step 5: Create a Lattice Top (Optional)
To make a lattice crust, use a knife or pizza cutter to cut thin strips of dough (about 1/4-1/3 inch wide). Interweave these strips over each filled pie. Press down slightly around the edges and trim any excess dough with a knife.
Step 6: Brush with Egg White and Sugar
Brush the tops of each mini pie with whisked egg white. Sprinkle sugar over each one for added sweetness and shine.
Step 7: Bake Until Golden
Bake for 25-30 minutes or until the crust is lightly golden and the filling begins to bubble.
Step 8: Cool Down
Let them cool in the pan for at least 15-20 minutes before removing.
Step 9: Serve Your Delightful Mini Pies
Using a knife, carefully loosen the edges of each pie from the muffin tin and gently lift them out. Enjoy your delicious Mini Cherry Pies!
How to Serve Mini Cherry Pies
Mini cherry pies are delightful desserts that can be enjoyed in various ways. They are perfect for gatherings, picnics, or simply as a sweet treat at home. Here are some creative serving suggestions to elevate your mini cherry pie experience.
With Whipped Cream
- Add a dollop of freshly whipped cream on top of each mini pie for a light and airy finish that contrasts nicely with the tart cherries.
À la Mode
- Serve with a scoop of vanilla ice cream to create a delicious combination of warm and cold flavors. The ice cream melts slightly into the pie, enhancing its richness.
Drizzled with Chocolate Sauce
- For chocolate lovers, drizzle some melted chocolate sauce over the top. This adds an indulgent touch that complements the sweetness of the cherries.
Topped with Fresh Berries
- Garnish each mini pie with fresh berries like raspberries or blueberries. This adds color and freshness while boosting flavor.
Served with Custard
- Pair your mini cherry pies with a side of warm custard for an elegant dessert option that adds creaminess and richness.
How to Perfect Mini Cherry Pies
To achieve the best mini cherry pies, follow these simple tips for an impressive dessert every time.
-
Use Cold Ingredients: Ensure your pie crust ingredients are cold before rolling them out. This helps create a flakier texture in the crust.
-
Avoid Overfilling: When adding cherry filling, only fill each crust about 2/3 full. This prevents overflow during baking and keeps your pies intact.
-
Check for Doneness: Keep an eye on your pies while baking. Look for a golden crust and bubbling filling as signs they are ready to come out of the oven.
-
Cool Before Serving: Allow mini cherry pies to cool in the pan for at least 15-20 minutes. This helps set the filling and makes them easier to remove.
Best Side Dishes for Mini Cherry Pies
Mini cherry pies pair wonderfully with various side dishes that enhance their delightful flavor. Here are some great options to consider when serving:
-
Vanilla Ice Cream – A classic pairing that balances the tartness of cherries with creamy sweetness.
-
Chocolate Mousse – Rich and airy, this dessert complements the fruitiness without overpowering it.
-
Pecan Salad – A crunchy salad with nuts adds texture and a savory element to counterbalance the sweetness.
-
Fruit Salad – A refreshing mix of seasonal fruits can brighten up the plate and provide additional flavors.
-
Cheese Platter – Include soft cheeses like brie or mascarpone, which pair nicely with sweet desserts.
-
Lemon Sorbet – The zesty flavor offers a refreshing contrast to the rich cherry filling while cleansing the palate between bites.
Common Mistakes to Avoid
Making Mini Cherry Pies can be a breeze, but there are some common pitfalls to watch out for. Here’s how to ensure your mini pies turn out perfectly every time.
- Bold Crust Preparation: Not rolling the crust evenly can lead to uneven baking. Make sure you roll the dough evenly for a consistent texture.
- Bold Overfilling: Filling the pies too much can cause them to overflow while baking. Aim for about 2/3 full to allow for bubbling.
- Bold Skipping the Egg Wash: Neglecting the egg wash means missing out on that beautiful golden finish. Brush the tops before baking for an appealing look.
- Bold Ignoring Cooling Time: Removing the mini pies too quickly from the pan can break them apart. Allow them to cool in the pan for at least 15-20 minutes.
- Bold Using Stale Ingredients: Old pie crusts or filling can affect taste and texture. Always use fresh ingredients for the best results.
Refrigerator Storage
- item Store Mini Cherry Pies in an airtight container.
- item They can last in the refrigerator for up to 3 days.
Freezing Mini Cherry Pies
- item Wrap each mini pie in plastic wrap, then place them in a freezer-safe bag or container.
- item They can be frozen for up to 2 months.
Reheating Mini Cherry Pies
- Bold Oven: Preheat your oven to 350°F (175°C) and bake for about 10-15 minutes until warmed through.
- Bold Microwave: Heat on high for about 30 seconds, checking if they’re warmed enough after each interval.
- Bold Stovetop: Place in a skillet over low heat and cover with a lid, heating until warm.
Frequently Asked Questions
What are Mini Cherry Pies?
Mini Cherry Pies are small, individual-sized desserts filled with sweet cherry filling and baked in a flaky crust. They make perfect treats for gatherings and parties.
How do I make Mini Cherry Pies from scratch?
To make Mini Cherry Pies from scratch, prepare your own pie crust and cherry filling using fresh or frozen cherries. Follow similar steps as outlined in this recipe.
Can I customize my Mini Cherry Pies?
Absolutely! You can add spices like cinnamon or nutmeg, or mix different fruits into your cherry filling for unique flavors.
How long do Mini Cherry Pies take to bake?
Mini Cherry Pies typically take about 25-30 minutes to bake at 350°F (175°C), until they are golden brown and bubbly.
Are there any alternative fillings for Mini Cherry Pies?
Yes! You can use other fruit fillings like blueberry, apple, or mixed berry if you want a change from traditional cherry flavor.
Final Thoughts
Mini Cherry Pies are not just adorable; they are also incredibly versatile! This recipe allows you to enjoy a delicious dessert without spending hours in the kitchen. Feel free to customize your fillings or toppings based on what you love most. Give these mini delights a try—they’re sure to impress!

Mini Cherry Pies
- Prep Time: 15 minutes
- Cook Time: 30 minutes
- Total Time: 45 minutes
- Yield: Approximately 12 mini pies 1x
- Category: Dessert
- Method: Baking
- Cuisine: American
Description
Indulge in the joy of homemade Mini Cherry Pies, a charming dessert that captures the essence of summer in every bite. These delightful little pastries are not only easy to make but also perfect for any gathering or as a sweet snack at home. With just a handful of ingredients, you can create individual servings filled with luscious cherry flavor, making them an ideal treat for sharing or enjoying solo. The flaky crust combined with the sweet, tart filling is sure to impress friends and family alike. Plus, they’re fun to make, especially with kids who can help shape and fill these cute pies!
Ingredients
- 1 package (2 9") store-bought pie crust
- 2 cups cherry pie filling
- 1 egg white (slightly beaten)
- Sugar for sprinkling
Instructions
- Preheat your oven to 350°F (175°C) and grease a muffin tin.
- Roll out one pie crust and cut circles about 3.5–4 inches in diameter.
- Place each circle into the muffin tin and gently press down.
- Fill each crust with cherry pie filling until two-thirds full.
- For optional lattice topping, cut strips from the second crust and interweave over the filling.
- Brush tops with egg white and sprinkle with sugar.
- Bake for 25-30 minutes until golden brown and bubbly.
- Allow to cool for 15-20 minutes before removing from the tin.
Nutrition
- Serving Size: 1 mini pie (65g)
- Calories: 200
- Sugar: 10g
- Sodium: 150mg
- Fat: 8g
- Saturated Fat: 2g
- Unsaturated Fat: 4g
- Trans Fat: 0g
- Carbohydrates: 30g
- Fiber: 1g
- Protein: 2g
- Cholesterol: 0mg