
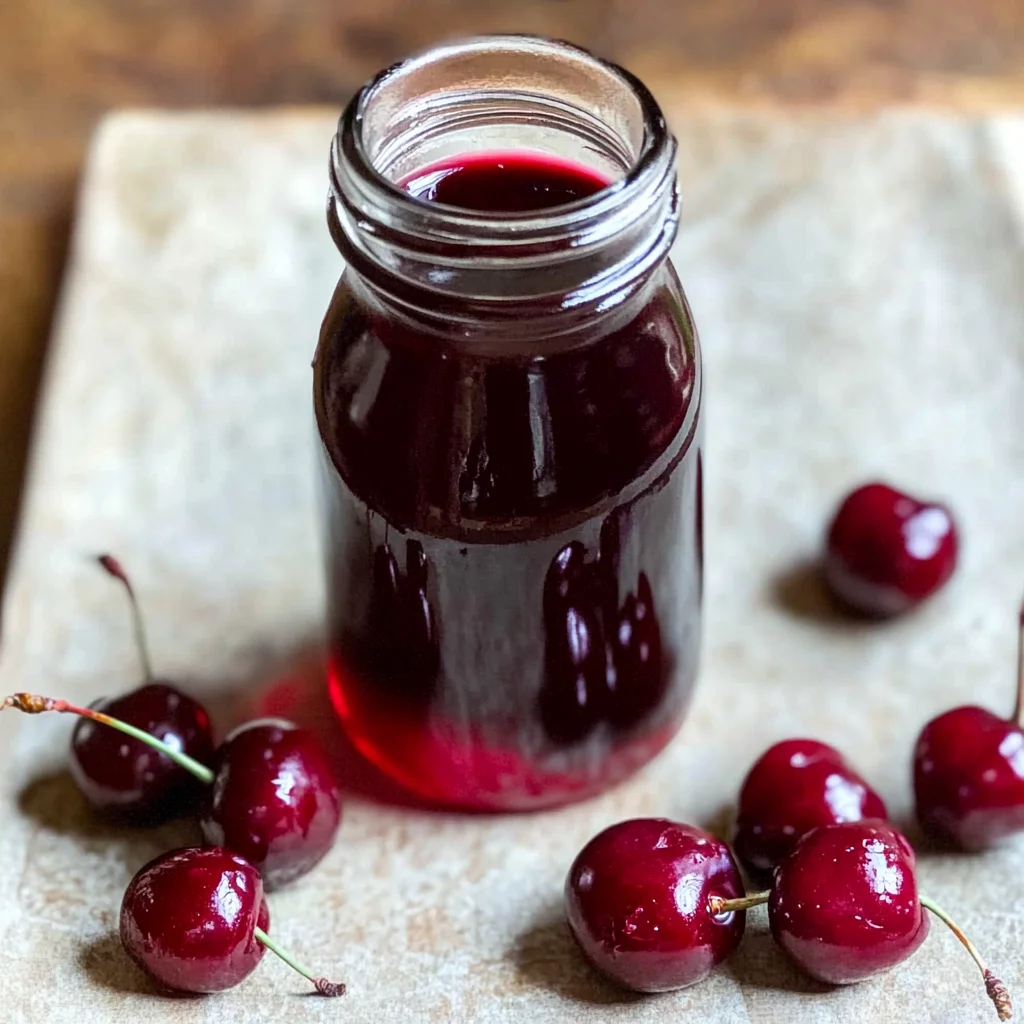
This homemade Cherry Syrup is not only delicious but also incredibly versatile. Whether you’re drizzling it over pancakes, mixing it into cocktails, or adding a splash to your desserts, this syrup enhances any dish with its sweet and tangy flavor. Perfect for breakfast gatherings or as a flavorful addition to your favorite treats, you’ll love how easy it is to whip up a batch of this vibrant syrup.
Why You’ll Love This Recipe
- Quick and Easy: With just three simple ingredients and minimal prep time, you can create your own cherry syrup in under 30 minutes.
- Versatile Use: This syrup is perfect for a variety of dishes, from drizzling over ice cream to mixing in cocktails or other beverages.
- Natural Flavor: Made with fresh or frozen cherries, this recipe captures the natural sweetness and tartness of cherries without artificial additives.
- Make Ahead: Prepare a batch and store it in the fridge for up to two weeks, making it a convenient choice for busy schedules.
- Customizable: You can easily adjust the sweetness by modifying the sugar amount or experiment with flavors by adding spices like cinnamon or vanilla.
Tools and Preparation
To make your Cherry Syrup, you’ll need some basic kitchen tools to ensure everything runs smoothly. Having the right equipment makes preparation easier and more enjoyable.
Essential Tools and Equipment
- Pot
- Fine-mesh strainer
- Knife or cherry pitter
- Bowl or jug
- Jar or bottle for storage
Importance of Each Tool
- Pot: A sturdy pot allows for even cooking and prevents burning while simmering the cherries.
- Fine-mesh strainer: This tool helps separate the cherry pulp from the syrup, ensuring a smooth texture for your final product.
- Knife or cherry pitter: Using these tools ensures that you can efficiently pit your cherries without much hassle.
Ingredients
This homemade Cherry Syrup is easy to make and can be used in various drinks and desserts.
For the Cherry Syrup:
- 1 ½ cups cherries (190g) pitted (fresh or frozen)
- 1 cup white granulated sugar (200g)
- ¾ cup water (180ml)
How to Make Cherry Syrup
Step 1: Prepare the Cherries
Remove the pits from the cherries using a knife or cherry pitter. This step is crucial as it ensures you have only the sweet fruit left for your syrup.
Step 2: Combine Ingredients
Add all ingredients—cherries, sugar, and water—into a pot. Stir them together until well mixed.
Step 3: Cook the Mixture
Bring the mixture to a boil over medium heat. Once boiling, reduce the heat and let it simmer for about 15 minutes. You’ll notice that the cherries will start breaking down during this process, releasing their juices.
Step 4: Strain the Syrup
Place a fine-mesh strainer over a bowl or jug. Carefully pour in the cherry mixture. Use a spoon to press down on the cherries in the strainer to extract as much syrup as possible.
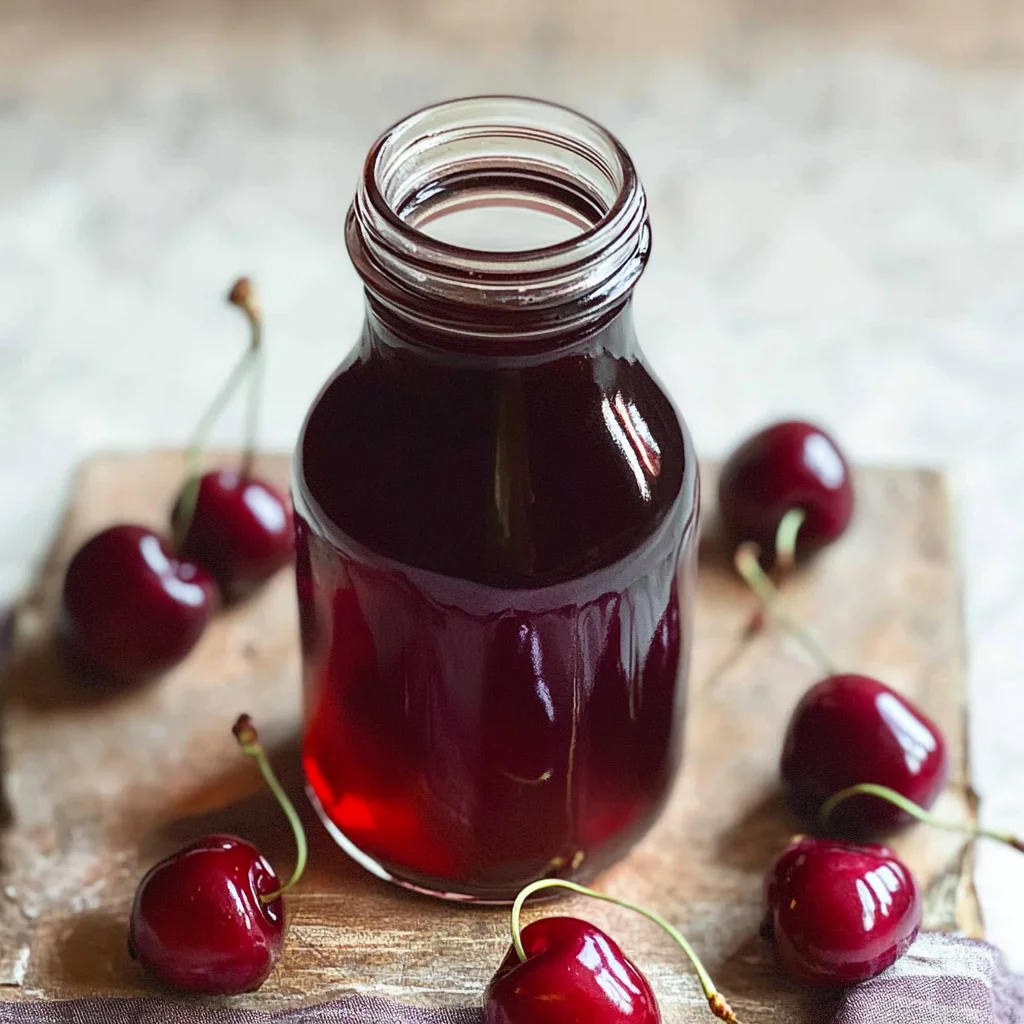
Step 5: Cool and Store
Allow your cherry syrup mixture to cool before transferring it into a jar or bottle. Store it in the refrigerator where it will last up to two weeks.
Enjoy your delightful homemade Cherry Syrup!
How to Serve Cherry Syrup
Cherry syrup is a versatile topping that can enhance various dishes. Whether you want to drizzle it over desserts or mix it into drinks, there are plenty of delicious options to explore.
On Pancakes
- Pour cherry syrup over fluffy pancakes for a sweet breakfast treat.
In Yogurt
- Swirl cherry syrup into yogurt for a refreshing snack or dessert.
With Ice Cream
- Drizzle warm cherry syrup on top of vanilla ice cream for a delightful sundae.
In Smoothies
- Blend cherry syrup into your smoothies for an extra burst of flavor.
As a Cocktail Mixer
- Use cherry syrup as a sweetener in cocktails, adding a fruity note without alcohol.
On Cheesecake
- Top plain cheesecake with cherry syrup for an elegant dessert finish.
How to Perfect Cherry Syrup
Perfecting your homemade cherry syrup is easy with a few helpful tips. Follow these suggestions to elevate your recipe.
-
Choose ripe cherries: Fresh, ripe cherries will yield the best flavor and color for your syrup.
-
Adjust sweetness: Depending on your taste, feel free to reduce or increase the sugar amount for desired sweetness.
-
Experiment with flavors: Add a splash of lemon juice or vanilla extract to enhance the taste.
-
Store properly: Keep your cherry syrup in an airtight container in the fridge to maintain freshness.
-
Strain well: Ensure you press the cherries thoroughly when straining to extract maximum syrup.
Best Side Dishes for Cherry Syrup
Cherry syrup pairs well with various side dishes, bringing a sweet touch to your meals. Here are some great options:
- French Toast: Serve warm French toast drizzled with cherry syrup for a scrumptious brunch option.
- Oatmeal: Mix in cherry syrup with oatmeal for a flavorful and nutritious breakfast.
- Granola Bars: Enhance homemade granola bars by adding a layer of cherry syrup between the oats.
- Waffles: Similar to pancakes, waffles topped with cherry syrup create an irresistible treat.
- Cheese Platter: Use cherry syrup as a dip alongside soft cheeses for an interesting flavor contrast.
- Pancake Muffins: Bake pancake muffins and serve them warm with a side of cherry syrup for dipping.
Common Mistakes to Avoid
Making homemade Cherry Syrup can be simple, but there are common pitfalls. Here are mistakes to avoid for the best results.
- Using unpitted cherries: Always ensure your cherries are pitted before cooking. This helps achieve a smooth syrup without any bitterness.
- Not measuring ingredients accurately: Precision is key in syrup-making. Use measuring cups for sugar and water to ensure the right consistency.
- Skipping the straining step: Straining is essential for removing solids. Don’t skip this process; it helps create a clear, smooth syrup.
- Cooking at too high a temperature: Cooking on high heat can burn the syrup. Start with medium heat and reduce it for simmering to avoid this issue.
- Storing improperly: Make sure to store the syrup in an airtight container in the fridge. This will keep it fresh for longer.
Storage & Reheating Instructions
Refrigerator Storage
- Store Cherry Syrup in an airtight jar or bottle.
- It can last up to 2 weeks in the refrigerator.
Freezing Cherry Syrup
- Freeze in ice cube trays for easy portioning.
- Once frozen, transfer cubes to a freezer-safe bag or container.
Reheating Cherry Syrup
- Oven: Preheat your oven to low heat and place the jar or container of syrup inside until warmed through.
- Microwave: Heat in short bursts of 15-20 seconds, stirring in between until desired warmth is achieved.
- Stovetop: Gently reheat on low heat in a saucepan, stirring frequently to prevent burning.
Frequently Asked Questions
If you have questions about making Cherry Syrup, you’re not alone! Here are some common inquiries.
How do I use Cherry Syrup?
Cherry Syrup is versatile! Use it as a topping for pancakes, ice cream, or even yogurt for a tasty treat.
Can I make Cherry Syrup without sugar?
Yes! You can substitute sugar with honey or maple syrup; just adjust the quantity based on sweetness preference.
What if my Cherry Syrup is too thick?
If your syrup is too thick, add a little water over low heat while stirring until you reach your desired consistency.
How long does homemade Cherry Syrup last?
When stored properly in the refrigerator, homemade Cherry Syrup lasts up to 2 weeks.
Final Thoughts
This homemade Cherry Syrup recipe is not only easy to prepare but also incredibly versatile. You can customize it by adding flavors like vanilla or spices. Give it a try and enjoy its delightful sweetness in various dishes!

Cherry Syrup
- Prep Time: 10 minutes
- Cook Time: 15 minutes
- Total Time: 25 minutes
- Yield: Approximately 1 cup (16 servings) 1x
- Category: Dessert
- Method: Cooking
- Cuisine: American
Description
Indulge in the delightful sweetness of homemade Cherry Syrup, a versatile addition to your kitchen creations. This vibrant syrup is crafted with just three simple ingredients and is perfect for drizzling over pancakes, mixing into smoothies, or enhancing desserts. Enjoy the natural flavors of fresh or frozen cherries without any artificial additives, making it a healthier option for your family gatherings. You can easily adjust the sweetness level to suit your taste preferences, and it stores beautifully in the fridge for up to two weeks. Elevate your breakfasts and desserts with this quick and easy recipe that delivers a burst of flavor in every drop.
Ingredients
- 1 ½ cups pitted cherries (fresh or frozen)
- 1 cup white granulated sugar
- ¾ cup water
Instructions
- Prepare the cherries by removing the pits using a knife or cherry pitter.
- Combine cherries, sugar, and water in a pot and stir until mixed.
- Bring to a boil over medium heat, then reduce heat and simmer for about 15 minutes until the cherries break down.
- Strain the mixture through a fine-mesh strainer over a bowl to extract the syrup.
- Allow cooling before transferring to a jar for storage.
Nutrition
- Serving Size: 1 tablespoon
- Calories: 50
- Sugar: 12g
- Sodium: 0mg
- Fat: 0g
- Saturated Fat: 0g
- Unsaturated Fat: 0g
- Trans Fat: 0g
- Carbohydrates: 13g
- Fiber: 0g
- Protein: 0g
- Cholesterol: 0mg