
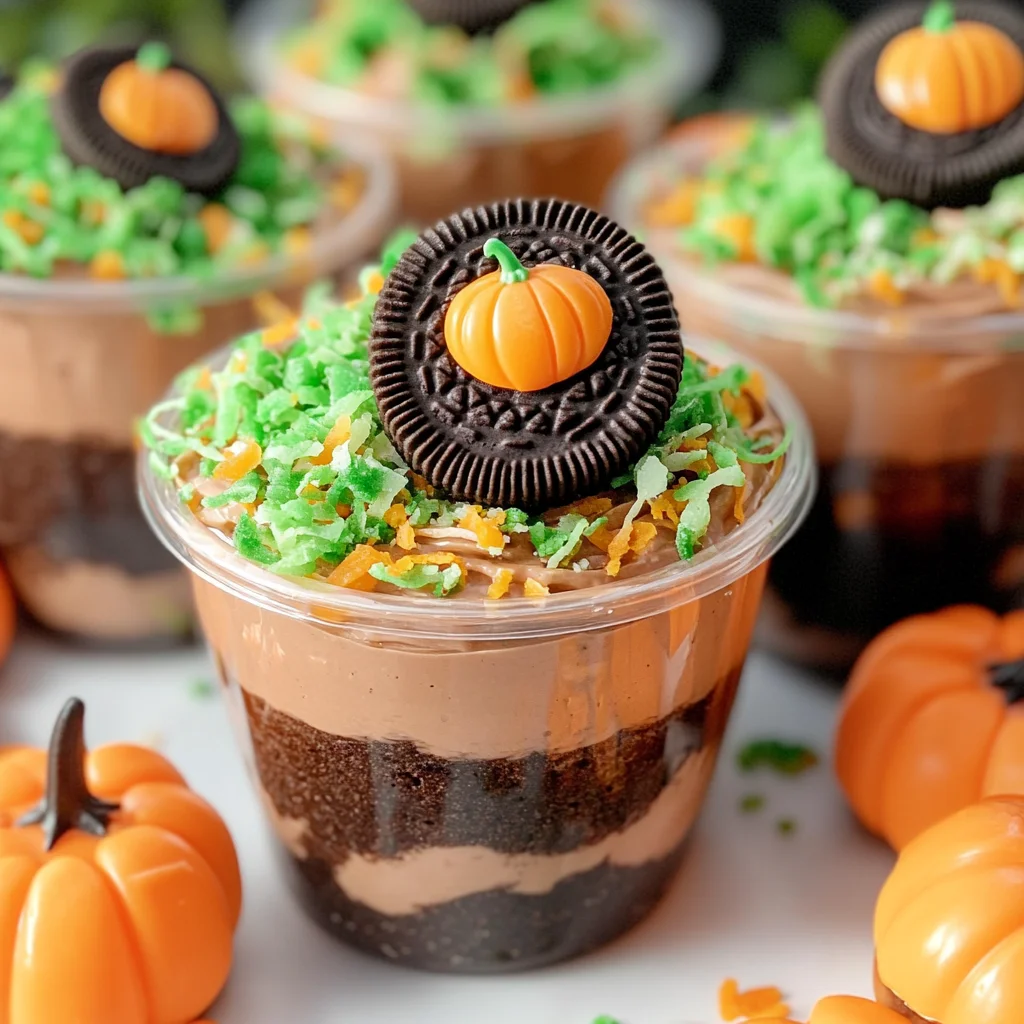
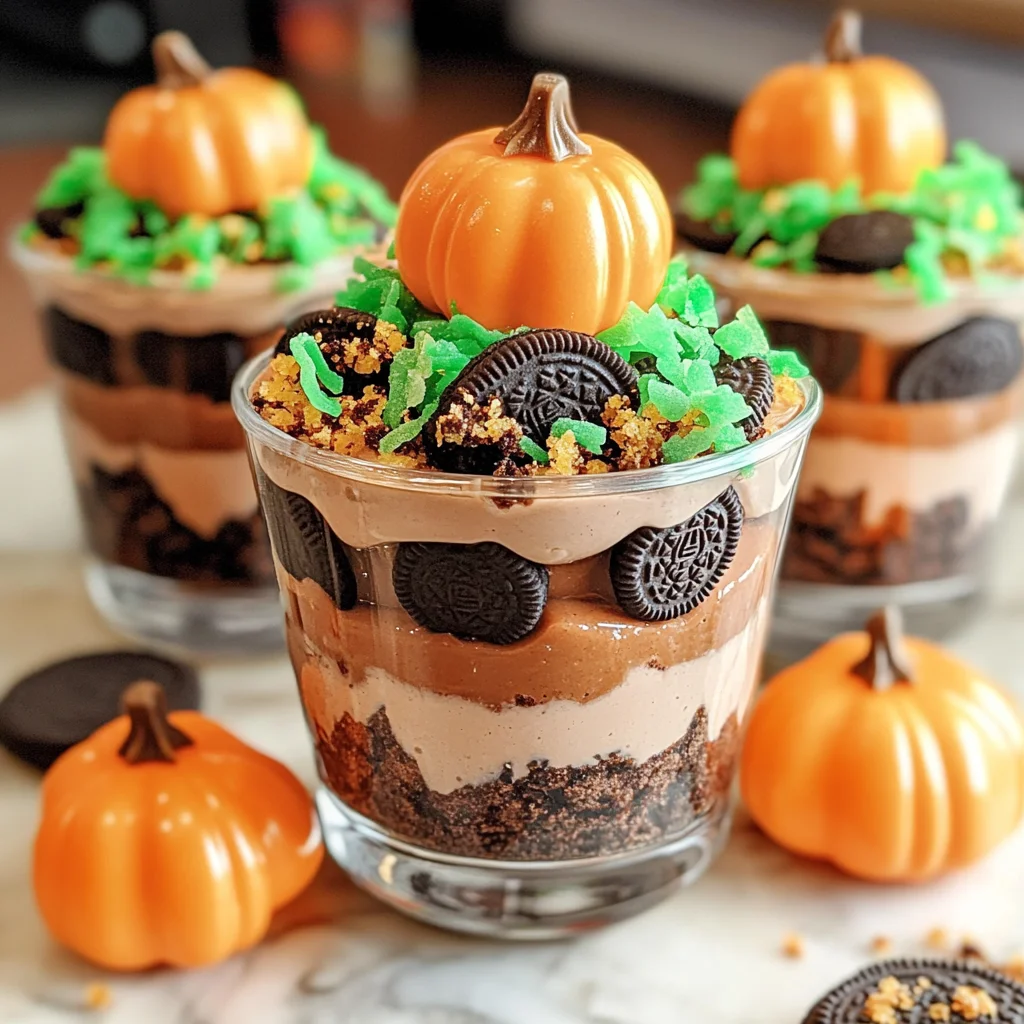
Simple pumpkin patch dirt cups that both adults and kids will love to make and eat! These delightful treats are perfect for fall parties, Halloween gatherings, or just a fun family dessert night. With layers of creamy pudding and crushed cookies, these cups not only look adorable but also taste fantastic. The vibrant colors and festive candy pumpkins make them a standout choice for any occasion.
Why You’ll Love This Recipe
- Quick to Prepare: In just 10 minutes, you can whip up these delicious cups with minimal effort.
- Kid-Friendly Fun: Kids enjoy helping in the kitchen, especially when it comes to layering the ingredients and decorating!
- Versatile Treat: Customize your dirt cups by adding different toppings or using alternative candies for various themes.
- No-Bake Delight: This recipe requires no baking, making it a perfect choice for those warm fall days.
- Perfect for All Ages: Whether it’s a party or a cozy family night, everyone will love digging into their own cup!
Tools and Preparation
To create your pumpkin patch dirt cups efficiently, you’ll need some essential tools. Having the right equipment makes preparation easier and more enjoyable.
Essential Tools and Equipment
- Food processor or rolling pin
- Medium mixing bowl
- Measuring cups
- Gallon size ziplock bag
- Plastic cups (9 ounces)
Importance of Each Tool
- Food processor or rolling pin: These tools help you crush the Oreo cookies quickly and evenly for that perfect crumb texture.
- Medium mixing bowl: A spacious bowl allows you to mix your pudding without spills and gives enough room to fold in the Cool Whip.
Ingredients
For the Pudding Base
- Chocolate Instant Pudding (1 package (3.9 oz))
- Milk (2 cups)
- Cool Whip (8 ounces)
For the Dirt Layer
- Oreo Cookies (1 regular size package)
For Decoration
- Candy Pumpkins
- Shredded Coconut
- Green food coloring
How to Make Pumpkin Patch Dirt Cups
Step 1: Crush the Oreos
- Place Oreo cookies in a food processor or put them in a gallon size ziplock bag. Crush until fine.
Step 2: Prepare the Pudding Mixture
- In a medium bowl, whisk together the pudding mix and milk for 2 minutes. Follow the package directions for setting time. Allow it to set for 5 minutes.
Step 3: Fold in Cool Whip
- Gently fold in the Cool Whip into the pudding mixture until combined.
Step 4: Layer Your Cups
- Add one tablespoon of crushed cookies into the bottom of each plastic cup.
- Spoon a layer of pudding mixture on top of the cookie layer.
- Repeat these layers until you reach the top of the cup, finishing with cookie crumbs.
Step 5: Chill
- Refrigerate your layered cups for at least 1 hour to allow everything to set properly.
Step 6: Color Your Coconut
- In a container with a lid, combine shredded coconut with a few drops of green food coloring and a touch of water. Shake until evenly colored.
Step 7: Decorate and Serve
- Just before serving, sprinkle colored shredded coconut on top of each cup. Add candy pumpkins as final decorations. Enjoy your delightful pumpkin patch dirt cups!
How to Serve Pumpkin Patch Dirt Cups
Pumpkin Patch Dirt Cups are a delightful treat perfect for various occasions. Here are some creative serving suggestions to make your dessert stand out and tantalize taste buds.
Fun for Kids
- Mini Cups: Serve in small, colorful cups to make them more appealing to children.
- Decorative Straws: Add fun straws or spoons for an extra playful touch.
Fall Parties
- Buffet Style: Set up a dessert table with Pumpkin Patch Dirt Cups as the star attraction.
- Themed Decorations: Use autumn-themed decorations like leaves and pumpkins around the serving area.
Family Gatherings
- Individual Servings: Offer each guest their own cup for a personal touch.
- With Whipped Cream: Top each cup with extra Cool Whip for an indulgent finish.
How to Perfect Pumpkin Patch Dirt Cups
Creating the perfect Pumpkin Patch Dirt Cups is all about attention to detail. Here are some tips to elevate your dessert game.
- Use Fresh Ingredients: Always opt for fresh milk and whipped topping for the best flavor and texture.
- Layer Carefully: Take your time when layering pudding and cookie crumbs for an eye-catching presentation.
- Chill Properly: Refrigerate the cups for at least one hour; this helps set the layers and flavors.
- Add Texture: Consider adding nuts or crunched-up candy bars between layers for added crunch.
- Garnish Creatively: Use edible glitter or sprinkles in addition to coconut and candy pumpkins for extra flair.
Best Side Dishes for Pumpkin Patch Dirt Cups
Pairing side dishes with Pumpkin Patch Dirt Cups can enhance your fall gathering. Here are some tasty options that complement this delightful dessert.
- Apple Slices: Crisp and refreshing, they provide a healthy contrast to the sweet cups.
- Cheese Platter: A variety of cheeses can balance sweetness, offering savory notes alongside the dessert.
- Veggie Sticks with Dip: Colorful vegetables with ranch or hummus offer a crunchy, healthy side.
- Pumpkin Spice Muffins: These muffins echo the pumpkin theme while adding a cozy touch.
- Caramel Popcorn: Sweet and crunchy, it’s a fun snack that pairs well with the creamy dirt cups.
- Fruit Salad: A mix of seasonal fruits brings freshness and lightness to your dessert table.
Common Mistakes to Avoid
Making Pumpkin Patch Dirt Cups can be fun and simple, but it’s easy to make mistakes. Here are some common pitfalls to watch out for:
- Skipping the Pudding Setting Time: Allowing the pudding to set properly is crucial for the right texture. If you skip this step, it may not hold its layers well.
- Not Crushing Oreos Enough: Ensure Oreos are finely crushed for a better texture. Larger pieces can disrupt the layering and presentation.
- Using Warm Ingredients: Make sure your milk and other ingredients are at room temperature. Warm ingredients can cause the pudding to clump and not mix smoothly.
- Overfilling the Cups: Be mindful of portion sizes. Overfilling can lead to messy servings and difficulty enjoying each layer.
- Forgetting to Color the Coconut: The vibrant green coconut adds a festive touch. Don’t skip this step if you want an authentic pumpkin patch look.
Refrigerator Storage
- Store in airtight containers to maintain freshness.
- Pumpkin Patch Dirt Cups can be refrigerated for up to 3 days.
Freezing Pumpkin Patch Dirt Cups
- Freezing is not recommended as it may affect the texture of the whipped topping and pudding.
- If necessary, freeze without toppings, and add them after thawing.
Reheating Pumpkin Patch Dirt Cups
- Oven: Not recommended for desserts like these; best enjoyed cold.
- Microwave: Use gently on low power if needed; however, it’s best served chilled.
- Stovetop: Not applicable for this dessert; enjoy as is from refrigeration.
Frequently Asked Questions
What are Pumpkin Patch Dirt Cups?
Pumpkin Patch Dirt Cups are a delightful dessert made with layers of chocolate pudding, crushed cookies, and topped with candy pumpkins and colored coconut, perfect for fall festivities.
Can I customize my Pumpkin Patch Dirt Cups?
Absolutely! You can customize by adding different candies or using flavored puddings like vanilla or butterscotch for variety.
How long do Pumpkin Patch Dirt Cups last in the fridge?
When stored correctly in an airtight container, they will last up to three days in the refrigerator.
Can I use dairy-free alternatives?
Yes! You can use dairy-free milk and whipped toppings to make a delicious vegan version of Pumpkin Patch Dirt Cups.
What type of cups should I use for serving?
Clear plastic cups work well because they allow you to see the beautiful layers of the dessert.
Final Thoughts
Pumpkin Patch Dirt Cups are a delightful treat that combines fun and flavor, making them perfect for gatherings. With their colorful layers and playful presentation, they appeal to both kids and adults alike. Feel free to customize your cups with different colors or toppings based on your preferences!

Pumpkin Patch Dirt Cups
- Prep Time: 10 minutes
- Cook Time: None
- Total Time: 0 hours
- Yield: Serves 8
- Category: Dessert
- Method: No-Bake
- Cuisine: American
Description
Indulge in the festive fun of Pumpkin Patch Dirt Cups, a delightful no-bake dessert that brings joy to both kids and adults! These vibrant cups feature layers of creamy chocolate pudding, crushed cookies, and are topped with playful decorations like candy pumpkins and colorful coconut. Perfect for fall parties, Halloween gatherings, or cozy family nights, these treats are quick to prepare, fun to assemble, and irresistibly delicious. With just a few simple ingredients and minimal effort, you can create a standout treat that will impress everyone at your gathering!
Ingredients
- 1 package (3.9 oz) chocolate instant pudding
- 2 cups milk
- 8 ounces Cool Whip
- 1 package Oreo cookies
- Candy pumpkins (for decoration)
- Shredded coconut (for decoration)
- Green food coloring
Instructions
- Crush the Oreo cookies using a food processor or a ziplock bag until fine.
- In a medium mixing bowl, whisk together the pudding mix and milk for 2 minutes; let it set for 5 minutes.
- Gently fold in the Cool Whip until combined.
- Layer crushed Oreos at the bottom of plastic cups, followed by pudding mixture; repeat layers until filled.
- Refrigerate for at least 1 hour to set.
- Mix shredded coconut with green food coloring; shake to color evenly.
- Before serving, add colored coconut on top and decorate with candy pumpkins.
Nutrition
- Serving Size: 1 cup (150g)
- Calories: 265
- Sugar: 24g
- Sodium: 150mg
- Fat: 15g
- Saturated Fat: 7g
- Unsaturated Fat: 7g
- Trans Fat: 0g
- Carbohydrates: 32g
- Fiber: 1g
- Protein: 3g
- Cholesterol: 10mg